
Furnace Ductwork Inspections | Jefferson County, MO
Quick Summary
A furnace ductwork inspection checks the ducts that carry heated air through your home and return air to the furnace. In older Jefferson County homes, the inspection may uncover leaks, disconnected joints, crushed sections, or rust. Some ducts may be hidden behind walls or under floors, so ask which areas the technician can inspect.
- Observe airflow at registers while the system runs, then turn it off before visually checking accessible ducts.
- Weak airflow throughout the house can point to a filter, blower, return-air, or main-duct problem.
- If you smell gas, leave immediately and call the gas utility or emergency services from outside. Do not operate the thermostat or other switches.
- Metal ducts can last well, but seals, supports, and insulation may deteriorate.
- Ask the technician to separate urgent repairs from maintenance items and conditions worth monitoring.
Table of Contents
- What a Furnace Ductwork Inspection Covers in an Older Home
- Your Furnace Ductwork Inspection Checklist, Step by Step
- Signs of Leaking Ductwork You Can Spot Before You Call
- Older-Home Duct Materials and the Risks That Come With Age
- How Long Does an HVAC Inspection Take?
- HVAC Inspection Questions to Ask Before Work Begins
- Repair or Replace: Sorting Duct Findings by Priority
- Book a Ductwork Inspection With a Local Technician
- Frequently Asked Questions
What a Furnace Ductwork Inspection Covers in an Older Home
A furnace ductwork inspection starts with the accessible supply and return ducts. The technician looks for damage, loose connections, and signs of leakage, then may recommend airflow or leakage testing. For related maintenance advice, see how to maintain HVAC systems in older homes.
In an older Hillsboro home, finished basements, additions, and past remodeling can make duct routes harder to trace. An inspection should identify what can be checked without opening walls and what remains hidden.
Visible Runs, Joints, and Connections
The technician starts where the ducts are reachable. In a basement or crawlspace, that usually means the main trunk and its branch runs.
Expect a close look at:
- Joints and seams where duct sections meet
- Connections at the furnace plenums, the boxes connecting the furnace to the supply and return ducts
- Register boots, the fittings behind floor and wall vents
A duct that looks intact from across the basement may still leak. Gaps can hide behind a joint or beneath insulation.
What You Should Receive After the Inspection
Ask for more than a verbal assessment. A written summary, with photos where possible, makes repair recommendations easier to understand.
A useful report identifies each problem, its location, and its urgency. It should also explain which areas were inaccessible and whether the findings came from visual checks or testing.
Your Furnace Ductwork Inspection Checklist, Step by Step
You can gather useful observations before the visit. Keep your checks limited to registers and visible ducts you can reach from a dry, stable floor.
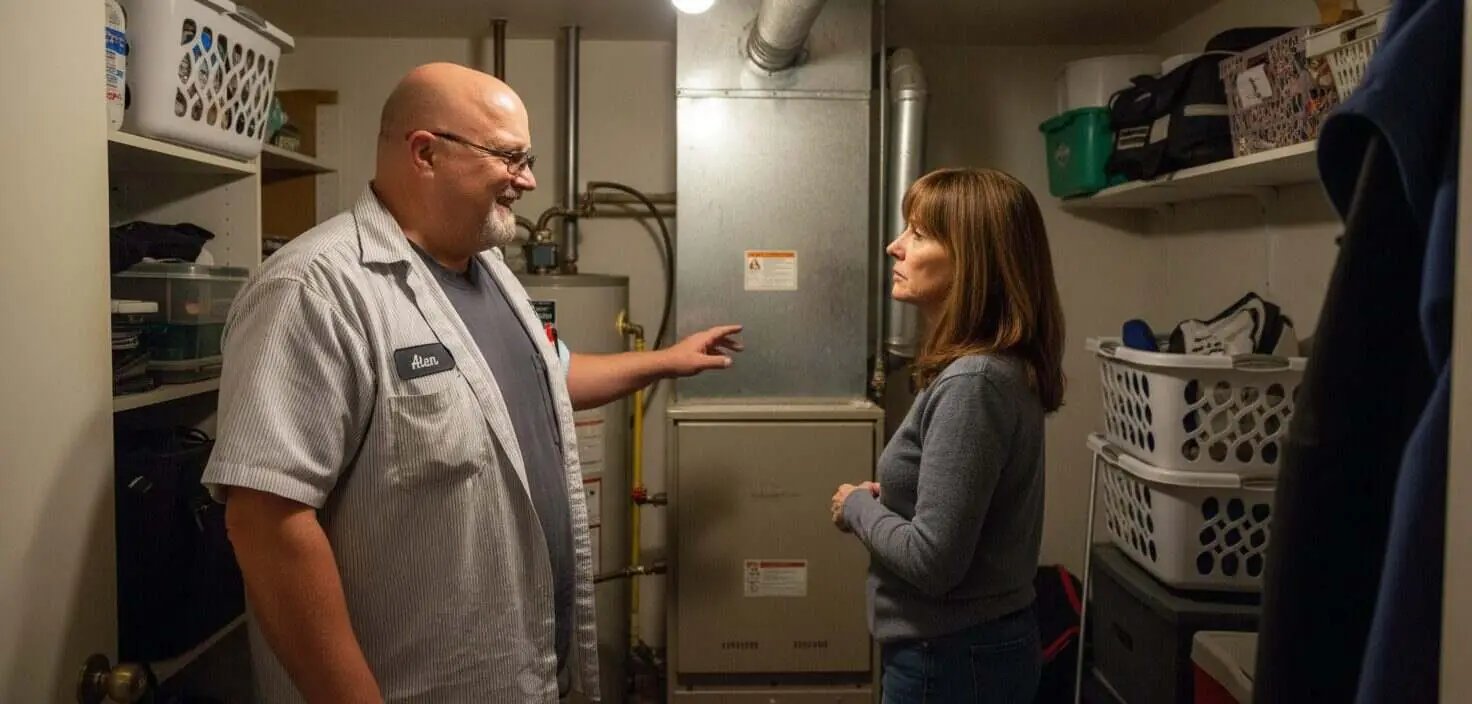
- Observe the system during normal operation. If there are no signs of a safety problem, check airflow at room registers while the blower runs. Do not open equipment panels.
- Walk through each room. Check that supply registers are open and not blocked by furniture or rugs. Note rooms with little airflow.
- Compare airflow at the vents. Hold your hand near each register without removing it. Weak airflow in one room may point to a branch problem; weak airflow throughout the house may have a system-wide cause.
- Turn the system off at the thermostat. Let the blower stop before visually checking registers for dark streaks, rust, loose fittings, or gaps around the boots.
- Scan accessible ducts. From a safe location, look for sagging, dents, crushed sections, and separated joints. Stay out of tight or wet crawlspaces.
- Look for peeling joint tape. Note deteriorated seals, but do not pull tape or insulation away to investigate.
- Note musty smells. Write down where and when they occur, including whether the system is running.
- Photograph visible problems. Take a wide shot for location and a closer shot for detail without touching damaged materials.
- Make a short list. Organize your notes by room and duct location so the technician can follow up.
Never cut into drywall or ductwork as part of a homeowner inspection.
Watch out: If a register delivers air during heating but very little during cooling, describe both conditions when you call. Seasonal airflow changes can involve blower settings, dampers, or other equipment and duct issues. Persistent changes deserve professional diagnosis; this overview of furnace repair warning signs offers related background.
Tools That Show What Your Eyes Miss
A flashlight and phone camera are enough for basic homeowner observations. A technician may use additional tools depending on access and the symptoms.
- A flashlight and mirror help reveal reachable joints, boots, and plenum connections. They cannot show what is behind insulation or around every bend.
- An inspection camera can show accessible duct interiors, including damage and debris. It does not measure leakage, and its reach is limited.
- Airflow measurements at registers help determine how much air a branch delivers. They can identify an imbalance but do not establish the cause on their own.
Ask which methods are included and whether separate duct-leakage testing is needed. A suspected leak and a measured leak are not the same finding.
When to Stop and Call a Professional
Some conditions need more than a routine service appointment. Stop your inspection if you notice:
- A gas odor, a carbon monoxide alarm, or possible carbon monoxide symptoms. Leave immediately and call emergency services or the gas utility from outside. Do not use switches, operate equipment, or try to locate the source. Carbon monoxide itself has no smell.
- Scorched metal or signs of overheating. Stop using the equipment and arrange professional assessment. If there is smoke or fire, leave and call emergency services.
- Suspected asbestos-containing wrap, tape, or insulation. Do not touch or disturb it. Ask an asbestos professional how it should be assessed.
- Standing water, active leaks, or suspected mold. Stay clear of wet equipment and leave investigation to the appropriate professional.
Describe what you observed from a safe location. Do not take samples or move damaged material to get a better look.
Signs of Leaking Ductwork You Can Spot Before You Call
Air that is warmer or cooler than expected can have several causes, including duct leaks. Temperature alone does not confirm a leak.
Other clues include:
- Rooms that stay uncomfortable while others reach the thermostat setting
- Unusual dust buildup near vents
- Whistling or rattling at registers
Our article on duct leaks and warm air from vents explains how duct problems can affect cooling. Missouri's humid summers and cold winters make uneven airflow uncomfortable in either season, but the cause still needs to be checked.
Older-Home Duct Materials and the Risks That Come With Age
An older home may have a mix of original ducts and newer sections added during repairs or remodeling. Knowing the materials helps you understand the technician's findings.
Metal Ductwork
Sheet-metal trunks and branches are common in older homes. The metal may remain sound while seals, insulation, and supports deteriorate.
- Joint tape and mastic can peel or crack, leaving gaps at seams and fittings.
- External insulation can sag or tear. Exposed ducts in unconditioned spaces can lose heat in winter or develop condensation during cooling.
- Supports and hangers can loosen or fail, allowing ducts to sag and connections to separate.
Fiberboard Ductwork
Rigid fiberglass duct board is used in some supply and return systems. It is lightweight but vulnerable to crushing and moisture damage. Damaged interior surfaces may release fibers into the airflow. A technician should assess whether a section can be repaired or needs replacement and identify any moisture source.
Flexible Ductwork
Flexible duct has an inner liner supported by a wire coil, with insulation and an outer jacket. It can bend around obstacles, but sharp bends, excessive sagging, and crushed sections restrict airflow. A torn liner can leak air, while a damaged outer jacket can expose insulation to moisture.
Materials That Should Not Be Disturbed
Some older duct insulation and joint materials may contain asbestos. Do not cut, sand, scrape, or pull them apart. Disturbing asbestos-containing material can release fibers into the air. See the EPA's asbestos information for background.
You cannot confirm asbestos by appearance alone. Our ductwork repair guide for 1950s homes covers material concerns to discuss before work begins.
Watch out: Damaged or crumbling old wrap is a reason to stop, not a do-it-yourself repair project.
How Long Does an HVAC Inspection Take?
The time depends on the inspection's scope and how much of the system is accessible. A visual check generally takes less time than an inspection that includes camera work or testing.
Factors include:
- Home size and the number of duct runs
- Access to the basement, attic, or crawlspace
- Hidden sections behind finished walls or ceilings
Explain your concerns when booking and ask for a time estimate.
HVAC Inspection Questions to Ask Before Work Begins
Before the inspection starts, ask:
- Which parts of the system will you check, and which are inaccessible?
- Will I receive photos and a written summary?
- Which findings need prompt attention, and which can wait?
If a recommendation is unclear, ask the technician to show you the problem and explain the repair in plain language.
Repair or Replace: Sorting Duct Findings by Priority
Ask the technician to group confirmed problems by urgency. Symptoms such as weak airflow need diagnosis before a repair decision. The examples below are starting points, not a substitute for an on-site assessment.
| Finding | Priority | Typical Action |
|---|---|---|
| Disconnected joint at the furnace | Prompt repair | Secure and seal the connection after checking the cause |
| Torn flexible duct in a crawlspace | Prompt assessment | Determine whether the liner or jacket is damaged; repair or replace as needed |
| Peeling tape at several joints | Plan repairs | Check for leakage and material hazards before resealing |
| Minor dents in a visible trunk | Monitor if airflow is unaffected | Recheck during service |
| Weak airflow to one room | Diagnose first | Check the register, damper, and branch before choosing a repair |
A crushed or disconnected duct serving several rooms may deserve attention before a minor dent. Our guide to repairing ductwork in older homes explains common repair approaches.
Book a Ductwork Inspection With a Local Technician
Ricotta Heating & Air is a family-owned company serving Jefferson County and South St. Louis County. Contact us to discuss cold rooms, weak airflow, or visible duct damage and ask what an inspection would include.
Have questions before booking? Our furnace and AC repair FAQs cover common concerns, including system life and repair-versus-replacement decisions.
If your older home never quite gets comfortable, ductwork is worth checking alongside the furnace, filter, and other possible causes.
Frequently Asked Questions
What does a furnace ductwork inspection include?
It typically includes checking accessible supply and return ducts for loose connections, damage, rust, and signs of leakage. Airflow measurements, camera work, or leakage testing may be separate services. Ask what is included and which areas cannot be reached.
How can I tell if the ductwork in my older home is leaking?
Uneven room temperatures, dust near registers, and whistling at joints can suggest duct problems, but none confirms a leak. Visible gaps or disconnected sections are stronger clues. A technician can determine whether testing is needed to measure leakage and locate the problem.
Can I inspect furnace ductwork myself?
You can compare airflow at room registers during normal operation, then turn the system off and visually check accessible ducts. Do not open furnace panels, cut ducts, disturb old insulation, or enter unsafe crawlspaces. If you smell gas, leave immediately without operating switches and call the gas utility or emergency services from outside. Your observations help the technician but do not replace an inspection.
When should older furnace ductwork be repaired or replaced?
Isolated gaps, loose connections, or damaged sections may be repairable. Widespread deterioration or ducts that are poorly sized for the system may call for replacement or redesign. Ask the technician to show you the findings, explain the options, and rank the recommended work by urgency.

This article was written with AI assistance and edited for Hillsboro and Jefferson County homeowners by Ricotta Heating & Air. For advice about your own system, call (314) 333-5900.