
Heat Pump Not Heating? Quick Checks Before You Call a Pro
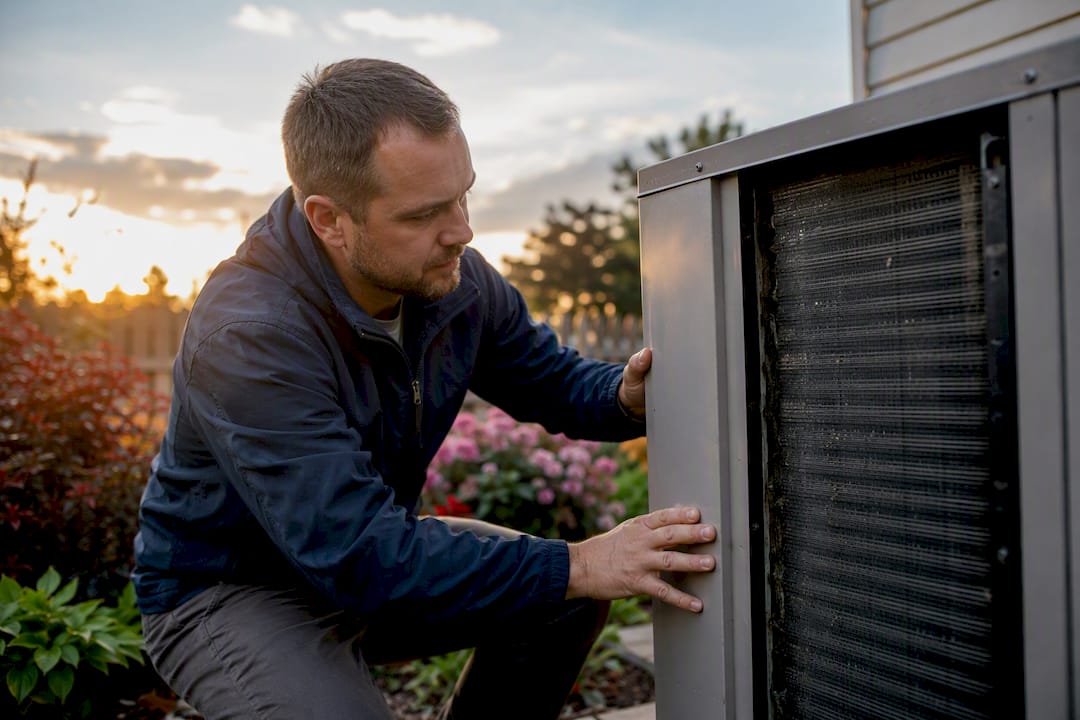
If your heat pump is running but the air feels cool, start here: confirm the thermostat is set to Heat with the fan on Auto, then check the outdoor temperature. Below about 40°F, the unit may simply be in a normal defrost cycle, which typically lasts 5 to 15 minutes. Wait it out before assuming something’s broken.
While you wait, run through these fast checks:
- Thermostat set to Heat, fan on Auto, batteries fresh
- Air filter clean (hold it to a light. can’t see through it, replace it)
- Both breakers on. One for the indoor air handler, one for the outdoor unit
- Outdoor unit clear of leaves, snow, or debris on all sides
If any of these show up, stop the DIY checks and call a licensed technician right away: a hissing sound or oily smell near the outdoor unit, ice that keeps re-forming after you’ve thawed it, or a completely silent outdoor unit while the thermostat is actively calling for heat. Those point to refrigerant or electrical problems that go beyond a homeowner fix.
Key Takeaways
A heat pump that won’t heat is usually solvable with a thermostat check, a clean filter, a breaker reset, and 15 minutes of patience for the defrost cycle before anything more serious is at play.
| Point | Details |
|---|---|
| Wait out defrost first | Cool air for 5 to 15 minutes below 40°F outside is normal defrost behavior, not a failure. |
| Run the four-step DIY check | Thermostat mode, filter cleanliness, breaker status, and outdoor unit clearance solve most no-heat calls. |
| Know the red flags | Hissing sounds, ice that won’t clear, or a silent outdoor unit during a heat call mean stop and call a professional. |
| Refrigerant and valve repairs need a license | EPA 608 certification is legally required for refrigerant work, and reversing valve repair involves brazed piping. |
| Ricotta Heating & Air offers honest diagnostics | 50 years of local service and 150+ five-star reviews back a no-upsell approach to repair versus replacement decisions. |
Table of Contents
- Why Is My Heat Pump Not Heating the House?
- How Long Should a Defrost Cycle Take?
- Could Low Refrigerant or a Bad Reversing Valve Be the Cause?
- Are Breakers or the Thermostat Causing the No-Heat Problem?
- Maintenance Habits That Prevent Future No-Heat Calls
- What Does a Ricotta Heating & Air Diagnostic Visit Include?
- The DIY Checklist Works. Until It Doesn’t
- Get a Real Diagnosis Instead of Another Guessing Game
- Sources
Why Is My Heat Pump Not Heating the House?
Most no-heat calls trace back to one of four things: a thermostat setting nobody double-checked, a dirty filter choking airflow, a tripped breaker, or a defrost cycle mistaken for a malfunction. Trane’s troubleshooting guidance confirms these are the most common starting points, and working through them in order solves the majority of “heat pump not warming house” complaints without a service call.
Here’s the sequence we recommend, based on what actually fixes the problem fastest.
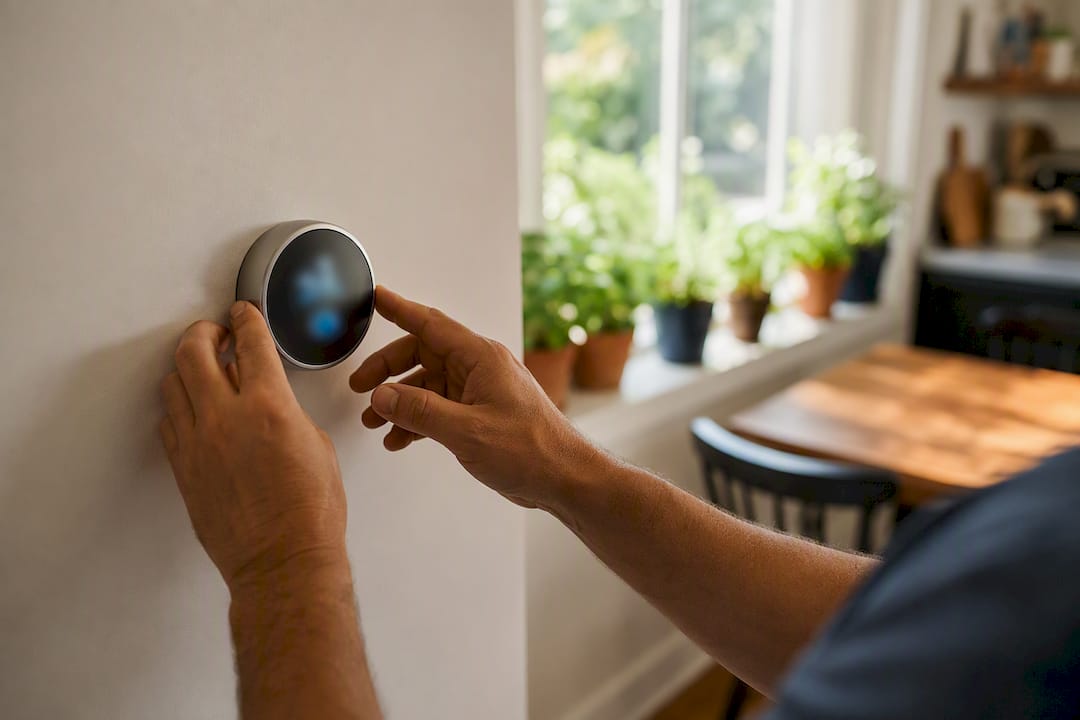
1. Check the thermostat first. Confirm the system mode says Heat, not Cool or Off, and the fan is on Auto rather than On (running the fan constantly without the compressor firing will blow room-temperature air that feels cold). Bump the setpoint up 2 to 3 degrees above the current room temperature. You should hear the system respond within a couple of minutes. If nothing happens, swap the batteries and try again. If you recently replaced the thermostat yourself, double-check the O and B terminal wiring. these control the reversing valve, and a swapped connection will make the system heat when it should cool or vice versa.
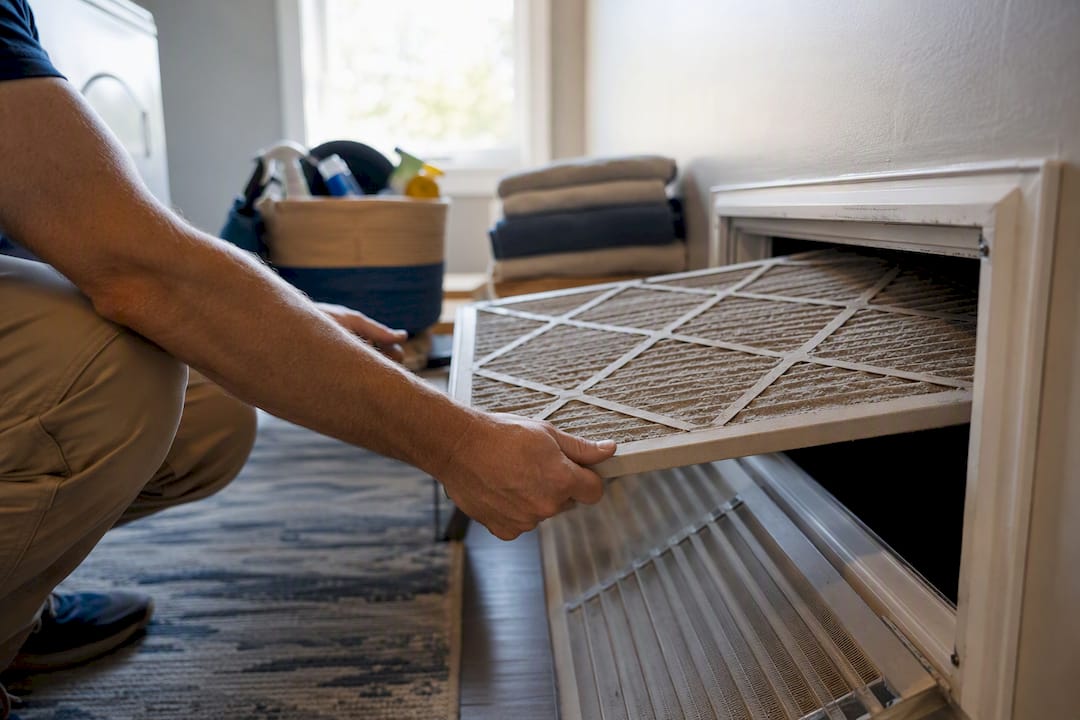
2. Inspect the filter. A clogged filter is like trying to breathe through a pillow. the system can’t pull enough air across the coil to transfer heat efficiently, and in bad cases the reduced airflow trips a safety switch that shuts the whole thing down. Pull the filter and hold it up to a window. If light barely gets through, replace it. Standard 1 inch filters need regular changing every few months; if you have pets or run the system constantly through a cold snap, check more frequently.
3. Check your power sources. There’s a disconnect switch near the indoor air handler (often looks like a light switch) and a separate outdoor disconnect box mounted next to the compressor. Confirm both are in the “on” position. Then check your electrical panel for two dedicated breakers, one for each unit. If a breaker is tripped, reset it once. If it trips again immediately, stop. a repeatedly tripping breaker means an electrical fault, not a fluke, and resetting it again risks damaging the compressor or starting a fire.
4. Look at the outdoor unit. Walk outside and confirm the fan is spinning and you can hear or feel the compressor running (a low hum, slight vibration). Clear away leaves, mulch, or a light dusting of snow from all sides. keep adequate clearance for proper airflow. If you see a heavy coat of ice covering the coil, switch the thermostat to fan-only mode and let it sit for 15 to 60 minutes rather than chipping at the ice, which can puncture the delicate coil fins.
Pro Tip: Heat pump supply air normally runs in a moderate warm range, noticeably cooler than the hotter air you might be used to from a gas furnace. That “lukewarm” feeling at the vent is often completely normal, not a sign of failure.
If you’ve worked through all four steps and the house still isn’t warming up, you’re likely looking at a defrost control fault, a refrigerant issue, or a reversing valve problem. all territory for a professional. Our outdoor unit troubleshooting guide covers additional checks if the compressor and fan aren’t responding at all.
How Long Should a Defrost Cycle Take?
A normal defrost cycle runs 5 to 15 minutes, and during that window the outdoor fan stops, the system briefly reverses into cooling mode to melt frost off the coil, and your indoor vents blow noticeably cool or even cold air. This is by design, not a malfunction. It only happens when outdoor temperatures sit near or below freezing and humidity is high enough to cause frost buildup.
If you catch your system in this state, the fix is simple: do nothing for 15 minutes and see if warm air returns.
To thaw a heavily iced coil safely, flip the thermostat to fan-only and let it run for 15 to 60 minutes. Never chip, scrape, or pour hot water on the ice. you’ll risk puncturing the aluminum fins or cracking the coil. A few defrost cycles per day during a cold, damp week is normal. What isn’t normal:
- Defrost cycles happening every hour or more
- Ice that returns within minutes of thawing
- Frost that builds unevenly, with heavy buildup on one section of the coil
Repeated defrosting beyond the typical pattern usually points to low refrigerant charge, a blocked outdoor coil, or a failing defrost control board. all diagnostics that require a technician with gauges and a multimeter, not a garden hose and patience.
Could Low Refrigerant or a Bad Reversing Valve Be the Cause?
Two of the most common “no fix at home” culprits share overlapping symptoms, which is exactly why they trip up DIY homeowners. Refrigerant problems show up as unusually long run times without the house ever warming up, ice on the outdoor coil that won’t fully clear even after thawing, a faint hissing sound near the lines, or weak heat that never quite catches up to the thermostat setting.
A stuck reversing valve behaves differently but gets misread as “the heat pump isn’t heating” just the same: the system runs, you can hear the compressor, but the air coming out feels distinctly cold rather than cool, because the valve is stuck in cooling mode.
Both repairs sit firmly outside DIY territory. EPA regulations require a certified technician holding an EPA Section 608 license to handle refrigerant, and reversing valve replacement means reclaiming refrigerant, disconnecting brazed piping, and testing pilot voltage on the solenoid. not a job for a wrench and YouTube.
Are Breakers or the Thermostat Causing the No-Heat Problem?
Electrical and control issues are usually the easiest fixes on this whole list, provided you know where to look and when to stop.
- Find both breakers. Your electrical panel has one dedicated breaker for the indoor air handler and one for the outdoor condensing unit, usually labeled. Flip each fully off, then back on. If either trips again immediately, leave it off and call an electrician. that’s a short or overload, not a nuisance trip.
- Check the outdoor disconnect. This gray box mounted near the compressor has a pull-out fuse block or switch. Confirm it’s fully seated and in the “on” position.
- Rule out a dead thermostat. A blank screen almost always means dead batteries. swap them before assuming a wiring fault. Our thermostat blank screen guide walks through the reset steps.
- Confirm wiring after any thermostat swap. If you installed a new thermostat recently, verify the O and B terminals match your system’s reversing valve wiring. a reversed connection makes the system act like it’s stuck in the wrong mode.
Any scorch marks, melted insulation, or a burning smell at the panel means stop immediately and call a licensed electrician or HVAC technician.
Maintenance Habits That Prevent Future No-Heat Calls
A little seasonal upkeep prevents most of the emergency calls we get during the first hard freeze.
- Replace 1 inch filters every 60 to 90 days; check monthly if you run pets or heavy usage.
- Clear at least 18 inches of space around the outdoor unit and knock down any tall grass or shrubs that crowd it seasonally.
- Understand your system’s balance point, the outdoor temperature (often between 25 and 40°F) below which your heat pump alone can’t keep up and auxiliary heat kicks in. That’s expected behavior, not a failure.
- Book an annual tune-up before the first cold snap to catch a weak capacitor or dirty coil before it becomes a no-heat morning.
A maintenance plan that includes a fall heat pump check catches most of these issues before they cost you a sleepless, cold night.
What Does a Ricotta Heating & Air Diagnostic Visit Include?
We’ve spent 50 years servicing heat pumps around St. Louis and Jefferson County, and our 150+ five-star Google reviews reflect a simple approach: honest diagnostics, no upselling, straight answers. When one of our technicians shows up for a no-heat call, here’s what gets checked:
- Electrical connections, breakers, and capacitor readings
- Refrigerant charge and pressure differentials
- Reversing valve solenoid function
- Defrost board timing and sensor accuracy
- Original installation sizing and ductwork, since an undersized or poorly ducted system will underperform no matter how well it’s maintained
Pro Tip: If your unit is under 10 years old and the fix is a single component (capacitor, sensor, control board), repair almost always makes more financial sense than replacement. We’ll tell you straight which category your system falls into.
Our heat pump service page has more on scheduling a diagnostic visit.
The DIY Checklist Works. Until It Doesn’t
Most heat pump troubleshooting guides treat every no-heat call as a mystery to be solved with a screwdriver and patience. That’s misleading. A large share of “heat pump not heating” complaints resolve themselves within 15 minutes because the system was never broken. it was defrosting. The real skill isn’t in the checklist itself; it’s in reading the pattern. One cold-vent episode on a 35°F morning is nothing. Three defrost cycles an hour, or ice that won’t fully clear, is a different story entirely.
Where I think conventional advice oversells itself is the assumption that a homeowner can reliably distinguish “low refrigerant” from “dirty coil” from “failing sensor” just by watching the vents. You can’t, and you shouldn’t try. what you can do reliably is rule out the cheap, safe stuff (thermostat, filter, breakers, debris) in under 15 minutes. If that doesn’t fix it, the honest move is admitting the diagnosis needs gauges and training, not another hour of guessing. Homeowners who skip straight to calling a tech for a simple filter problem waste money; homeowners who keep poking at a refrigerant leak risk a much bigger repair bill later.
— Alan
Get a Real Diagnosis Instead of Another Guessing Game
If you’ve worked through the thermostat, filter, breaker, and outdoor unit checks and the house still isn’t warming up, it’s time for a trained eye rather than another forum thread. Ricotta Heating & Air is the local alternative to guesswork: a family-owned crew with 50 years in the St. Louis and Jefferson County area, over 150 five-star Google reviews, and a flat rule against upselling. We tell you what’s actually wrong and what it costs to fix it, whether that’s a $40 capacitor or a conversation about replacement.

We service every major brand, including Trane, Carrier, Lennox, and Rheem, and our technicians carry the certifications needed to handle refrigerant and reversing valve repairs safely, work that’s genuinely outside DIY territory. If your heat pump still won’t warm up after trying the checks above, schedule a diagnostic visit through our heat pump service page and get a straight answer today.
Sources
- Troubleshooting Tips for a Heat Pump Not Heating (Trane)
- Heat Pump Not Heating? Troubleshooting Cold Air Issues (Carrier)