
AC Not Turning On: Fast Checks for Homeowners
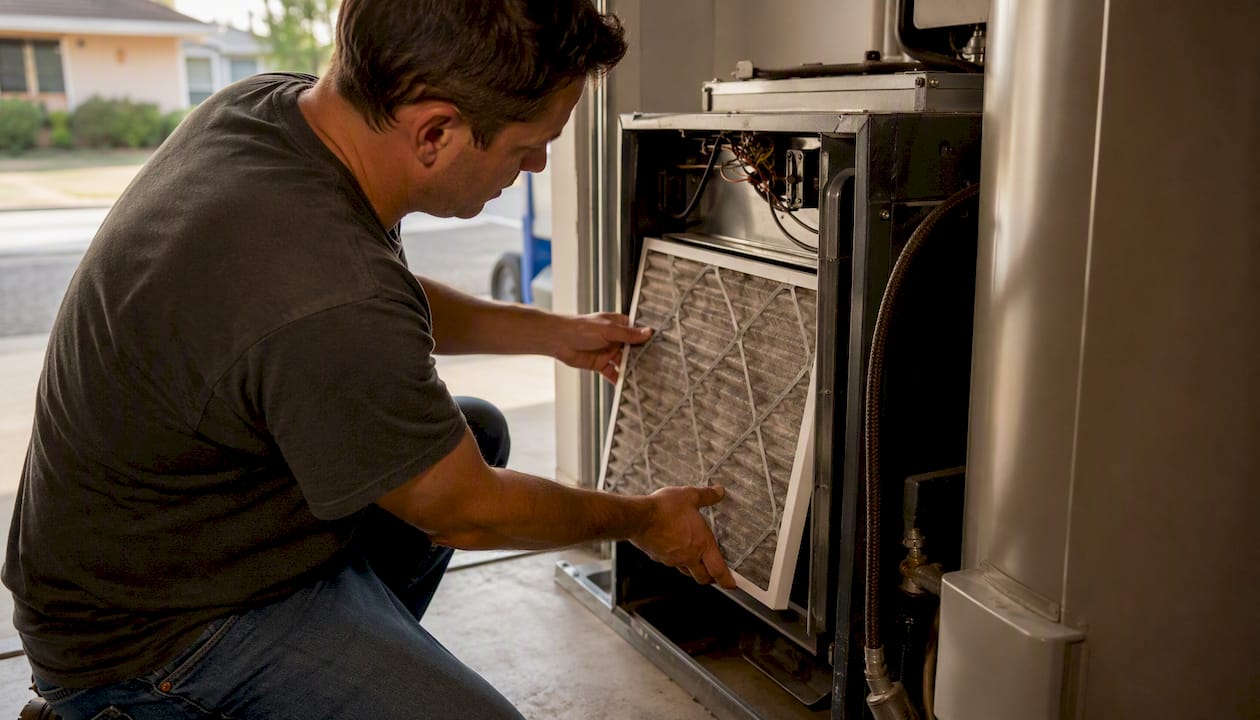
If your AC is not turning on, the most likely causes are a thermostat setting or dead batteries, a tripped circuit breaker, or a triggered safety switch like the condensate float. Most no-start problems trace back to these three areas, and you can check all of them safely in under five minutes without any tools.
Here are three immediate actions to take right now:
- Check your thermostat first. Confirm it’s set to COOL, the setpoint is set lower than the room temperature, and the display is lit. Dead batteries are a surprisingly common culprit.
- Go to your electrical panel. Look for a tripped double-pole breaker labeled “AC” or “Air Handler” and reset it once if it’s tripped. Do not reset it repeatedly.
- Check the condensate drain pan. If there’s standing water in the pan under your indoor air handler, a float safety switch has likely cut power to protect your home from overflow.
IMPORTANT: If you smell burning, see scorch marks, or hear loud buzzing near any electrical component, stop immediately and call a licensed HVAC technician. Do not attempt further checks.
Key Takeaways
Most AC no-start problems come down to a thermostat setting, a tripped breaker, or a triggered safety switch — and you can check all three safely in under five minutes before calling anyone.
| Point | Details |
|---|---|
| Start with thermostat and power | Confirm COOL mode, setpoint, batteries, breaker, and both power switches before any other check. |
| Float switch stops the system | Standing water in the condensate pan trips a safety switch; vacuum the drain line to restore operation. |
| Reset the breaker once only | One reset is safe if there’s no burning smell; repeated trips signal a deeper fault requiring a technician. |
| Stop at electrical and refrigerant | Capacitors, contactors, and refrigerant work require a licensed pro — never open the outdoor electrical compartment. |
| Ricottaheatingandair serves St. Louis and Jefferson County | Same-day diagnostics, honest repair estimates, and no-pressure service from a 50-year family-owned team. |
Table of Contents
- Why your AC won’t turn on: the first checks to try
- Indoor system checks: filter, blower, and condensate drain
- Outdoor condenser checks: fuses, disconnect, and what sounds mean
- Electrical causes and when the breaker is telling you something
- Refrigerant leaks, frozen coils, and compressor failure: where DIY ends
- Your step-by-step troubleshooting checklist
- Red flags that mean you should call a pro now
- How Ricottaheatingandair diagnoses an AC that won’t start
- What most homeowners get wrong about a no-start call
- Ricottaheatingandair is ready when your AC won’t start
- Sources
Why your AC won’t turn on: the first checks to try
Before you assume the worst, run through these quick checks in order. They resolve the majority of no-start calls without a service visit.
-
Thermostat mode and setpoint. Set the mode to COOL (not AUTO or FAN ONLY) and drop the setpoint below the current room temperature. If the display is blank, replace the batteries first. A blank thermostat screen is often nothing more than dead AA or AAA batteries.
-
Circuit breaker panel. Find the double-pole breaker for your AC or air handler. A tripped breaker sits in a middle position between ON and OFF. Flip it fully to OFF, then firmly back to ON. Resetting once is generally safe if there’s no burning smell or visible damage. If it trips again immediately, stop there.
-
Indoor power switch. There’s usually a wall switch near your air handler that looks like a light switch. Confirm it’s in the ON position. It’s easy to bump accidentally.
-
Outdoor disconnect box. Walk to your outdoor condenser unit. There’s a gray or black box mounted on the wall nearby. Open the cover and check that the pull-out fuse block is fully seated. A partially pulled block cuts power to the condenser completely.
-
Wait 3–5 minutes after resetting. Modern AC systems have a built-in time-delay to protect the compressor. After any reset, give the system a few minutes before deciding it hasn’t responded.
Pro Tip: After a power outage, your thermostat may have lost its program settings. Manually set it to COOL and a specific temperature rather than relying on a schedule that may have reset to default.
Indoor system checks: filter, blower, and condensate drain
Once you’ve confirmed power is reaching the system, the next step is checking what’s happening inside your home.
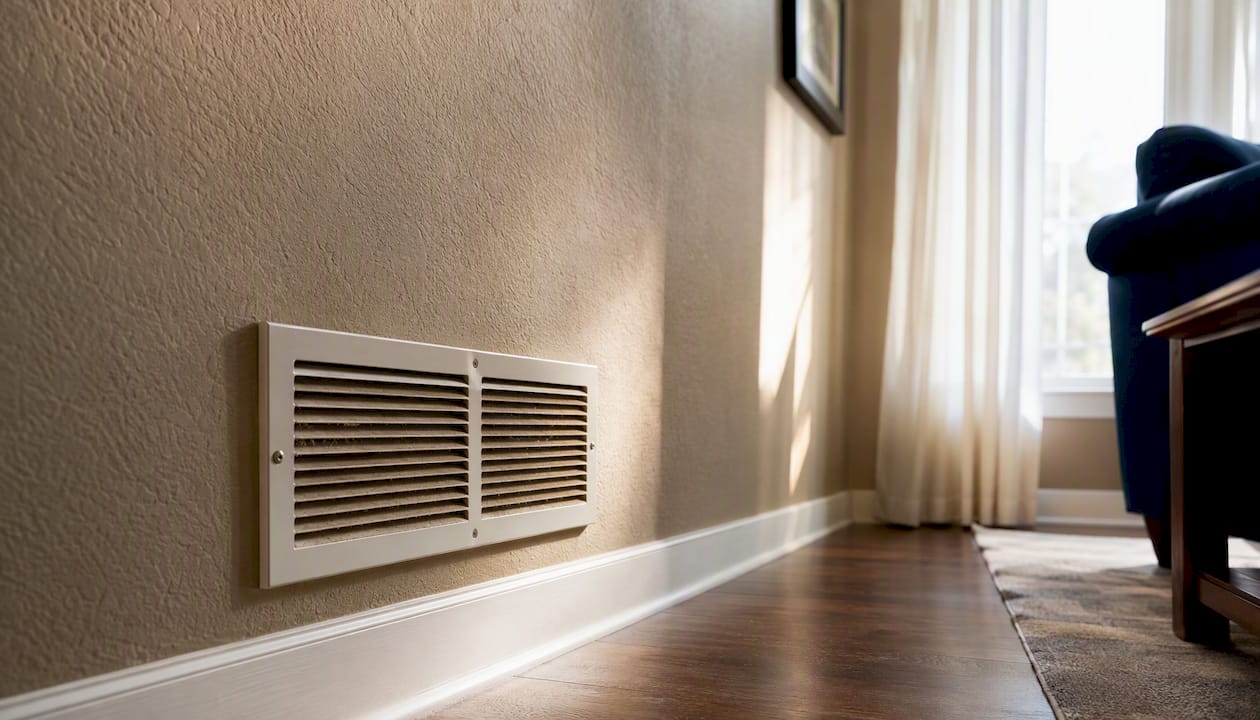
Air filter. Pull the filter out of its slot (usually at the return air vent or air handler cabinet). Hold it up to a light source. If you can’t see light through it, it’s clogged. A filter that’s packed with dust is like trying to breathe through a pillow — the system starves for airflow, the evaporator coil freezes, and the unit shuts down as a protective measure. Replace it with the correct size and MERV rating for your system.
Blower motor. With the system set to FAN ON at the thermostat, listen at a supply vent. You should hear airflow within 30–60 seconds. If the indoor blower runs but nothing happens outside, the problem has shifted to the outdoor unit. If the blower doesn’t run at all, you may have a failed blower motor, a blown fuse on the control board, or a wiring issue — all of which need a technician.
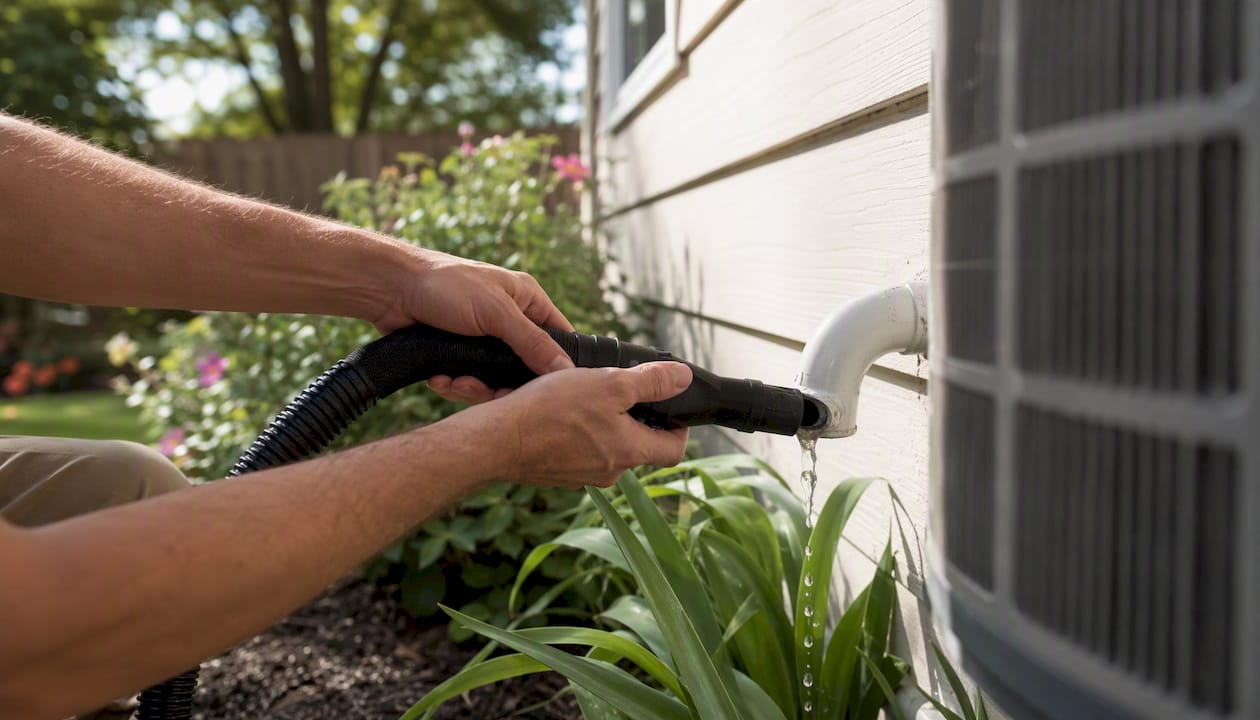
Condensate drain pan and float switch. Your air handler produces condensation as it cools. That water drains through a PVC line to a floor drain or outside. When the line clogs, water backs up into the drain pan and triggers a float safety switch that cuts power to the system. A clogged condensate line is one of the most common reasons a central AC won’t turn on, and it’s a protective action, not a malfunction. To clear a minor clog, use a wet/dry vacuum on the exterior end of the drain line for 1–2 minutes. If the pan is full of standing water, empty it first with a towel or small cup.
IMPORTANT: Do not reach into the air handler cabinet near the control board or wiring. If the float switch has tripped and the drain line appears clear but water keeps returning, call a pro — there may be a deeper drain obstruction or a cracked pan.
Pro Tip: Pour a cup of distilled white vinegar into the condensate drain access port once a month during cooling season. It prevents the algae buildup that causes most clogs.
Outdoor condenser checks: fuses, disconnect, and what sounds mean
The outdoor unit has its own set of failure points. Most of them are visible or audible before you ever open a panel.
- Disconnect box and fuse block. The pull-out block inside the outdoor disconnect contains cartridge fuses. You can visually inspect them without a multimeter: a blown fuse often shows a blackened or broken element inside the glass or ceramic body. If a fuse looks damaged, that disconnect needs professional attention before power is restored.
- Humming but fan not spinning. This is a classic start capacitor failure. The capacitor gives the fan motor and compressor the initial electrical jolt they need to start. When it fails, the motor hums but can’t turn over. Capacitors store a dangerous electrical charge even after power is cut — never attempt to test or replace one yourself.
- Clicking but nothing starts. Rapid clicking often points to the contactor, a relay switch that sends power to the compressor and fan. A worn contactor may click repeatedly without completing the circuit.
- Complete silence from the outdoor unit. If the indoor blower is running but the outdoor condenser is completely silent, the issue is almost always electrical or mechanical at the outdoor unit — a failed capacitor, bad contactor, or interrupted outdoor power.
- Visible ice on the refrigerant lines or coils. Ice on the copper lines running into the house, or frost on the outdoor coil, means the system has been running in a stressed state. Turn the system OFF and set the fan to ON to thaw the coil. Do not run the compressor while ice is present.
- Debris around the unit. Leaves, grass clippings, and overgrown shrubs restrict airflow and can cause the unit to overheat and shut down. You can rinse superficial dirt from the outside of the coil fins with a garden hose, but never spray water into the electrical compartment and never remove the top panel yourself.
Pro Tip: Keep at least 18–24 inches of clearance around all sides of your outdoor unit. Trim back any shrubs or vegetation at the start of each cooling season — it takes five minutes and prevents a surprising number of service calls.
For a deeper look at outdoor condenser failures specific to the St. Louis area, the outdoor AC troubleshooting guide for Sunset Hills covers the most common local scenarios.
Electrical causes and when the breaker is telling you something
A tripped breaker is not just an inconvenience. It’s your home’s electrical system doing exactly what it was designed to do.
- One trip, no smell, no damage. Reset it once and monitor. Power surges and brief overloads can trip a breaker without indicating a serious problem.
- Trips again immediately or within minutes. This is a red flag. Repeated breaker trips point to a deeper electrical fault — a short circuit, a failing compressor drawing too much current, or a ground fault. Continuing to reset it risks starting a fire.
- Blown outdoor fuse vs. tripped main breaker. A blown cartridge fuse in the outdoor disconnect cuts power only to the condenser. A tripped breaker at the panel cuts power to the entire circuit. Both produce the same symptom (outdoor unit dead), but the fix and the risk level differ.
- Burning smell, sparks, or scorch marks. These are stop-everything signals. Turn off the AC at the thermostat, switch off the breaker, and call a licensed technician. Do not attempt to diagnose further.
Pro Tip: Keep a simple log: write down the time the breaker tripped, what you heard or smelled, and what the thermostat was set to. That 30-second note saves your technician significant diagnostic time and can lower your service bill.
Refrigerant leaks, frozen coils, and compressor failure: where DIY ends
Some problems look like power issues but are actually mechanical or refrigerant failures. Knowing the difference protects both you and your equipment.
- Low refrigerant or a leak. Signs include ice forming on the refrigerant lines, warm air from the vents when the system is running, or a faint hissing sound near the indoor or outdoor unit. Refrigerant work is federally regulated under EPA Section 608 — only EPA-certified technicians can legally handle, recover, or recharge refrigerant. This is not a gray area.
- Frozen evaporator coil. A dirty filter, closed supply vents, or a refrigerant issue can all cause the indoor evaporator coil to freeze solid. The safe response is to turn the system OFF, switch the fan to ON to circulate warm air over the coil, and wait 2–4 hours for it to thaw completely. Running the compressor against a frozen coil can damage it permanently.
- Compressor failure. If the outdoor unit hums but the fan won’t spin, a failed start capacitor is the most likely cause. If the capacitor tests good but the compressor still won’t start, the compressor itself may have failed. Compressor replacement is one of the most expensive HVAC repairs and often makes system replacement the more economical choice.
The clearest DIY boundary in HVAC troubleshooting: filter changes, thermostat battery swaps, clearing condensate drains, and rinsing exterior coil fins are homeowner territory. Anything inside the outdoor unit’s electrical compartment, any refrigerant work, and any compressor diagnosis requires a licensed technician. That line exists for safety and legal reasons, not just liability.
Your step-by-step troubleshooting checklist
Work through this in order. Don’t skip ahead — the fastest fixes are at the top.
- Set thermostat to COOL, setpoint 3–5° below room temp. Record the current room temperature and your setpoint. Wait 2 minutes.
- Replace thermostat batteries if the display is dim or blank. Wait 2 minutes after replacing.
- Check the indoor power switch near the air handler. Confirm it’s ON.
- Inspect the circuit breaker panel. Reset a tripped AC breaker once. Record the time. Wait 5 minutes.
- Check the outdoor disconnect box. Confirm the pull-out block is fully seated. Do not open the electrical compartment.
- Inspect the air filter. Replace if clogged. Wait 5 minutes after replacing before testing the system.
- Check the condensate drain pan. If there’s standing water, vacuum the drain line and empty the pan. Wait 5 minutes.
- Listen at the outdoor unit. Note whether you hear humming, clicking, or silence. Record what you hear.
- Look for ice on refrigerant lines or the outdoor coil. If present, turn the system OFF and fan ON. Wait 2–4 hours.
- If nothing has worked after all steps above, call a licensed HVAC technician. An AC that won’t start after these checks is almost always a power or component issue that requires professional diagnosis.
Diagnostic record template (copy this before you call):
Pro Tip: Take photos of anything unusual before you touch it — standing water in the drain pan, ice on the lines, a scorch mark near a wire. A photo takes five seconds and gives your technician a head start before they even walk through the door.
Red flags that mean you should call a pro now
Some symptoms tell you clearly that the troubleshooting checklist is over and a technician needs to take it from here.
- Breaker trips more than once after resetting
- Burning smell from any part of the system
- Visible scorch marks, melted insulation, or sparks
- Ice that hasn’t thawed after 4 hours with the fan running
- Hissing or bubbling sounds near refrigerant lines
- Outdoor unit hums but fan won’t spin after a full power reset
- System is more than 15 years old and showing multiple symptoms at once
When you call, tell the technician: how long the unit has been unresponsive, what the breaker did, any sounds or smells you noticed, whether you saw ice or water, and when the system was last serviced. That information cuts diagnostic time significantly.
A technician’s first checks on arrival typically cover incoming power at the disconnect, thermostat signal, capacitor condition, contactor function, and refrigerant pressure. Most diagnostic visits in the St. Louis area run between $75 and $150 for the service call, with repair costs varying widely depending on the component. Capacitor replacements tend to be among the more affordable fixes; compressor work sits at the opposite end of the range.
What separates a fast repair from a long one is almost always the homeowner’s notes. A technician who arrives knowing the breaker tripped twice, the outdoor unit hummed, and the system is 10 years old can go straight to the capacitor and contactor. A technician who arrives with no information starts from scratch. Your five-minute log is worth more than you’d expect.
How Ricottaheatingandair diagnoses an AC that won’t start
When a Ricottaheatingandair technician arrives at a home in St. Louis or Jefferson County, the diagnostic process follows a specific order designed to find the real problem quickly and without guesswork.
- Safety and power verification first. The technician confirms incoming voltage at the disconnect and panel before touching any component. No assumptions about what’s live.
- Control signal check. The thermostat signal is verified at the air handler control board. A thermostat that looks fine can still fail to send a proper call for cooling.
- Indoor unit inspection. Filter condition, blower operation, drain pan level, and float switch position are all checked before moving outside.
- Outdoor unit component testing. Capacitor microfarad readings, contactor condition, and compressor amperage draw are measured with calibrated tools — not estimated by sound alone.
- Refrigerant pressure check if the system starts but doesn’t cool, or if ice is present.
Ricottaheatingandair has served St. Louis and Jefferson County homeowners for 50 years, with 150+ five-star Google reviews built on honest diagnostics and no-pressure recommendations. When a repair isn’t worth doing, we say so. When a simple fix solves the problem, that’s what you get.
Ricottaheatingandair serves homeowners across St. Louis and Jefferson County, including Mehlville, Cedar Hill, Manchester, and surrounding communities. Before the technician arrives, have your diagnostic notes ready, clear a path to both the indoor air handler and the outdoor unit, and note the age of your system if you know it. That preparation makes the visit faster and the diagnosis more accurate.
For homeowners who want to prevent the next no-start before it happens, HVAC maintenance plans include seasonal tune-ups that catch capacitor wear, drain line buildup, and filter issues before they become a 95-degree emergency.
What most homeowners get wrong about a no-start call
There’s a pattern that shows up repeatedly in no-start service calls, and it’s worth naming directly.
Most homeowners either do too much or too little. They reset the breaker three or four times hoping it will “catch,” which can damage a compressor that’s already drawing too much current. Or they skip the condensate drain entirely because it doesn’t seem related to the AC “not turning on” — and miss the one fix that would have solved the problem in ten minutes.
The condensate float switch is probably the most underestimated component in a residential HVAC system. It’s a tiny plastic float sitting in a pan of water, and it can shut down your entire cooling system just as effectively as a failed compressor. The difference is that clearing a clogged drain line costs nothing. A compressor replacement costs considerably more.
One non-obvious preventive measure: have your capacitors tested during your annual spring tune-up, before cooling season starts. Capacitors degrade gradually and often test within spec until the day they fail completely — usually on the hottest afternoon of the year. A technician can measure capacitor microfarad output and replace one proactively for a fraction of what an emergency call costs.
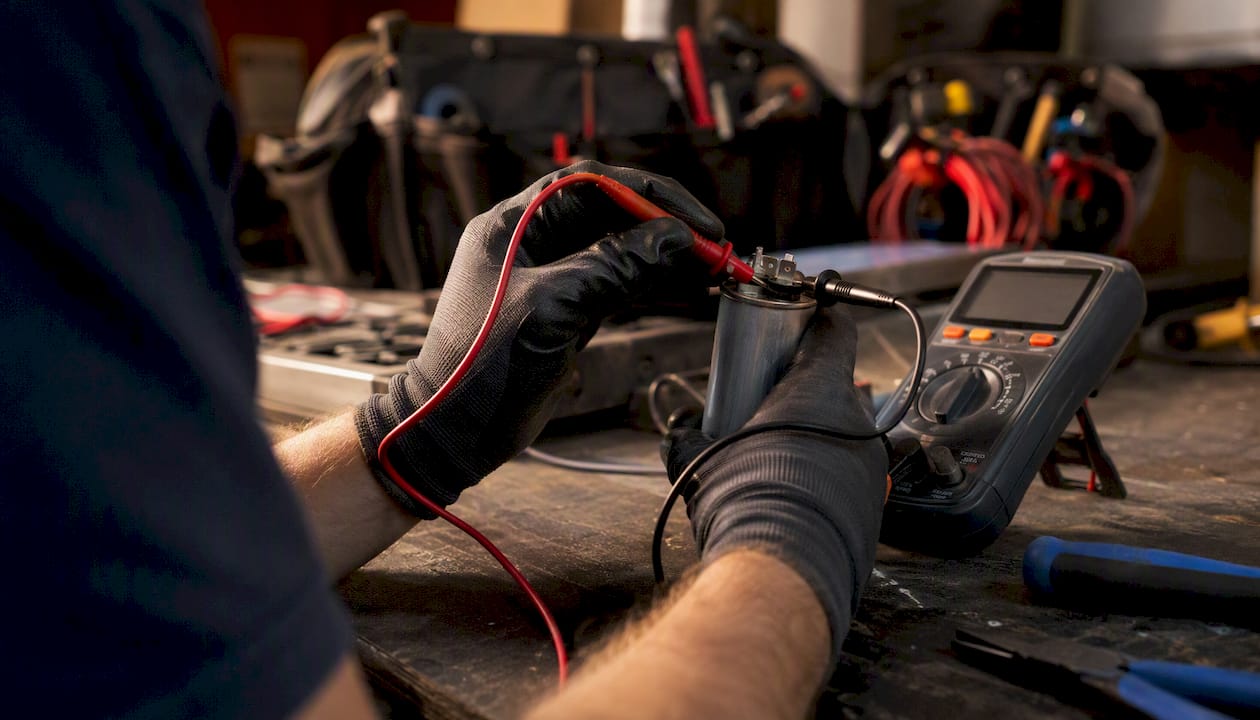
Safety is the other thing worth saying plainly. The electrical compartment of an outdoor condenser unit contains components that can hold a lethal charge even after the disconnect is pulled. That’s not a figure of speech. Trained technicians use insulated tools and discharge procedures for a reason. The line between homeowner checks and professional work exists because the consequences of crossing it are serious.
Ricottaheatingandair is ready when your AC won’t start
When the quick checks haven’t solved it and St. Louis summer heat isn’t waiting, Ricottaheatingandair offers prompt diagnostic visits across St. Louis and Jefferson County with no upsell pressure and no vague estimates. You get a straight answer about what’s wrong and what it costs to fix it.

The diagnostic visit covers everything in the professional checklist above: power verification, control signal testing, capacitor and contactor inspection, drain and filter check, and refrigerant pressure if needed. Most visits are completed the same day, and Ricottaheatingandair carries the parts for the most common repairs on the truck.
To book a cooling repair or diagnostic visit, call the team directly or schedule online. For homeowners in Mehlville and nearby communities, the local AC repair page has availability and service details. If you’d rather prevent the next breakdown than react to it, ask about service agreements that include priority scheduling and seasonal tune-ups.
Sources
- AC Unit Not Turning On: Reasons Why And What To Do | Carrier
- AC Not Turning On? Try This - Trane®
- AC Not Turning On? Causes, Fixes & Troubleshooting Guide | Bryant
- Outside AC Unit Not Turning On | This Old House